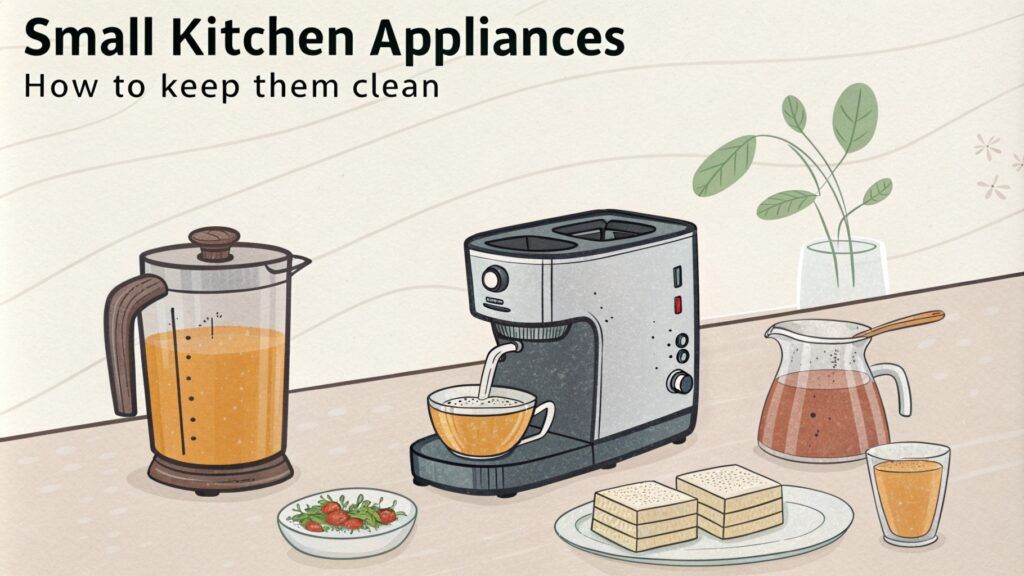
Whether you’re going away on a vacation, preparing for an extended absence, or moving to a new house, leaving the kitchen immaculate isn’t only about appearance. A spotless kitchen is a welcoming space and prevents pest infestation, odours, and damaged appliances. If you leave the kitchen and kitchen appliances clean, you'll avoid unpleasant surprises or expensive repairs when you return.
We recommend you follow specific steps when cleaning the kitchen appliances. Scrub everything from the refrigerator and oven to small appliances like the coffee maker and microwave. With some elbow grease and dedication, you can leave your kitchen spotless.
Steep stool to reach the top of refrigerators or high shelves.
📌 WORTH NOTING
After each meal, wipe down countertops and dining surfaces to avoid accumulation of crumbs and spills. For efficient cleaning, use a multi-surface cleaner or a vinegar solution.
What are the steps for cleaning your refrigerator and freezer?
Step 1: Empty the contents
Remove all food and beverages and use coolers with ice packs to temporarily store any perishables.
Discard expired or spoiled food and donate or use unopened and still-good products.
For easy cleaning, remove all shelves, drawers, and racks.
Step 2: defrost the freezer (if applicable)
Defrost the freezer by unplugging the refrigerator or switching it off
To catch water from melting ice, place towels on the floor around the freezer. You may use a scraper or a plastic spatula to remove large ice chunks.
Wipe the freezer after it's completely defrosted.
Step 3: wipe the interior
Use warm soapy water to clean drawers, shelves, and racks. Rinse them thoroughly and let them air dry.
Make a solution of water and vinegar or mild dish soap (equal parts). Using a sponge or a microfiber cloth, wipe all interior surfaces, seals, walls, and corners.
Apply a paste of baking soda and water for difficult spots. Scrub it carefully after several minutes.
Sanitize and deodorize
Use a vinegar solution or a disinfectant spray to sanitize the interior of the freezer and refrigerator. Wipe them with a spotless cloth.
To absorb odours, place an open box of activated charcoal or baking soda.
Polish the exterior
Damp a cloth in a stainless-steel cleaner or all-purpose cleaner to wipe appliances and get a streak-free finish.
If possible, use a vacuum or brush to remove dust from the condenser coils. Typically, they are placed at the back or bottom of the appliance and cleaning them improves their efficiency.
Organize and restart
Put back in place all removed parts, after they have dried.
Plug in the refrigerator and freezer. Restock the items after they have cooled.
If you’re leaving soon, place only essential products or leave the appliances empty, with the door ajar to avoid odours and mould.
✨ QUICK FACT
Using a damp cloth, wipe up any spills or splatters right when they take place, to avoid dried-on messes.
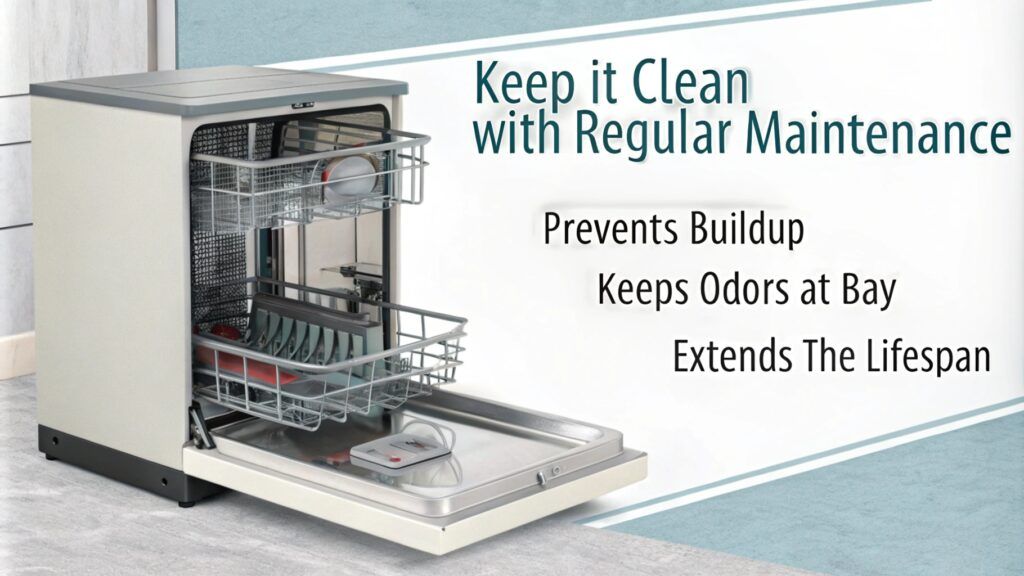
What steps to take for an immaculate dishwasher?
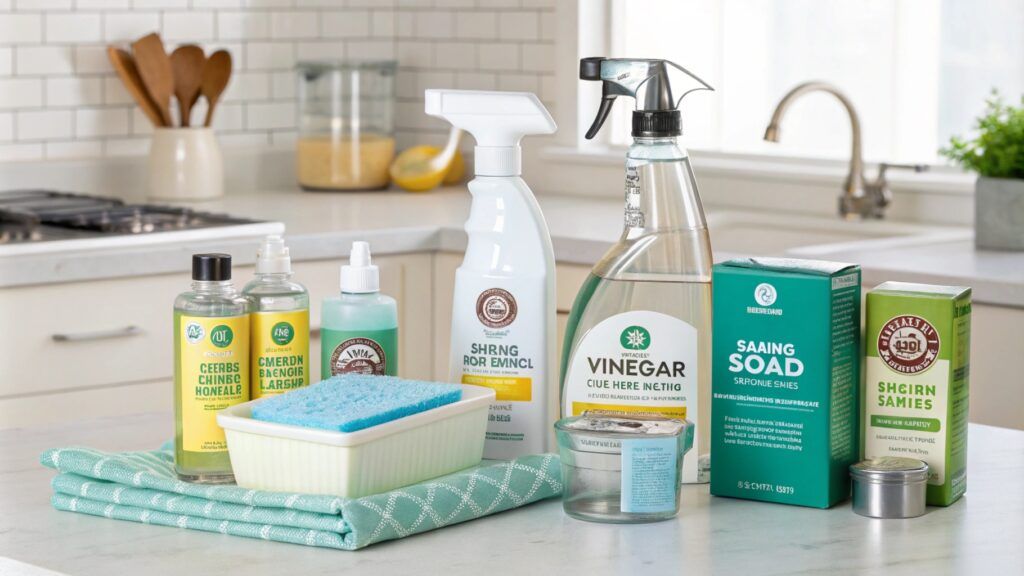
Step 1: Gather supplies
Dish soap or mild detergent
White vinegar
Baking soda
A soft brush or toothbrush
Microfiber cloth
Toothpick or small wire for unclogging spray arms
Step 2: empty the dishwasher
Completely unload the dishwasher
Check for leftover food particles or buildup in the bottom.
Step 3: clean the filter
Commonly, the filter is at the base of the appliance. Check out the manual for precise location.
Twist or unlock the filter and pull it out.
Rinse the filter under warm water and remove grease and food debris to scrub with a soft brush and dish soap the filter.
To prevent clogging, securely put the filter back in.
Step 4: wipe the spray arms
Take the arms out of the dishwasher (if applicable)
Use a toothpick, needle or small wire to clear debris blocking the holes in the spray arms.
Run water through the spray arms.
Put the spray arms back in place.
Step 5: Wipe down the interior
Wipe the walls, door, and gasket seals with a damp cloth with dish soap or vinegar solution.
Don’t forget the edges of the door and the bottom of the dishwasher.
Step 6: run a cleaning cycle
Place a bowl filled with white vinegar on the top rack. To break down grease, odours, and limescale, run a hot water cycle.
Sprinkle some baking soda across the bottom of the dishwasher. Run a short, hot water cycle to deodorize and brighten the interior.
Step 7: wipe the exterior
Using a microfiber cloth and an all-purpose cleaner or stainless steel cleaner, wipe down the dishwasher door and control panel.
Pay special attention on handles and buttons, where smudges and fingerprints tend to accumulate.
How should you clean your oven and stovetop?
Cleaning the oven
Step 1: Collect your supplies
Baking soda
White vinegar
Dish soap
Spray bottle
A soft sponge or scrub brush
Microfiber cloth
Rubber gloves
Step 2: remove oven racks
Remove all racks and trays from the oven
To loosen grease and grime, place the racks in a sink or tub filled with warm water and dish soap. While you wipe the oven interior, let them soak.
Step 3: make a baking soda paste
Make a thick paste out of 1/2 cup of baking soda and a few tablespoons of water.
Evenly spread the paste over the interior surfaces of the oven. Avoid heating elements and focus on heavy buildup.
Step 4: let it sit
The paste should sit for at least 12 hours (overnight) to break down stubborn grease and grime.
Step 5: wipe it off
Using a microfiber cloth or sponge, wipe off the dried paste.
For a fizzing reaction, spray white vinegar onto the remaining baking soda. Wipe it clean.
Step 6: clean the racks
Scrub the soaked racks with a brush or sponge to eliminate all remaining residue.
Use clear water to rinse before placing them back in the oven.
Step 7: final fixes
With a moist cloth, wipe the oven door and window. Remove difficult stains with a paste made of baking soda and vinegar.
Clean the stovetop
Step 1: Identify the stovetop type
A gas stovetop has grates and burners, while an electric stovetop features smooth glass surfaces or coils.
Step 2: Collect supplies
Dish soap
Baking soda
Vinegar
Soft sponge or cloth
A toothbrush or small brush
Step 3: wipe removable parts
Remove burner caps and grates
Place them in a sink with warm water and dish soap for half an hour.
Step 4: clean the stovetop surface
Wipe away crumbs and loose residue with a damp cloth
Apply the baking soda paste on baked-on stains and let it sit for 20 minutes or so.
Carefully, scrub away grime with a soft sponge or brush
Step 5: rinse and polish
Put back in place grates and burners after you rinse and dry them.
For a streak-free finish, use a damp cloth and polish with vinegar to wipe the surface.
Step 6: wipe knobs and controls
Remove knobs and wash them with warm, soapy water. If they are fixed, wipe around them with a toothbrush.
⚡ SPOTLIGHT
Clean the range hood and exhaust fan filters to avoid grease buildup and ensure efficient airflow.
What about your microwave and small appliances?
Cleaning the microwave
Step 1: Collect supplies
White vinegar or lemon juice
Baking soda
A microwave-safe bowl
Soft sponge or cloth
Step 2: loosen stuck-on food
Fill a microwave-safe bowl with water and 1-2 tablespoons of vinegar. Alternatively, use several slices of lemon.
Microwave on high for 3-5 minutes, until steam condenses inside and the liquid boils.
Let the steam loosen the grime for another 5 minutes.
Step 3: wipe down the interior
Remove the turntable and wash it in warm, soapy water.
Wipe down the interior with a damp sponge or microfiber cloth.
Sprinkle baking soda on stubborn stains, scrub gently, and wipe clean.
Step 4: wipe the exterior
With a soaked cloth and an all-purpose cleaner, wipe the door, control panel, and handle. Make sure not to get any moisture into controls or vents.
Cleaning small countertop appliances
Coffee maker
Remove leftover coffee grounds and rinse the carafe and basket
Mix equal parts of water and vinegar. Run it through the brewing cycle. To rinse, run two cycles of plain water.
Use a damp cloth to polish the outside and dry thoroughly.
Blender or food processor
Take apart blades, lids, and jars
Soak the parts in warm, soapy water. Use a soft brush to scrub them.
For a deep clean, sanitize appliances with a vinegar rinse or dishwasher-safe solution.
Toaster or toaster oven
Remove the crumb tray and shake it to remove loose debris
Using a moist cloth or brush, wipe the inside to eliminate crumbs. Avoid heating elements.
For a shiny finish, use a stainless steel cleaner.
Electric kettle
Boil a mixture of water and vinegar to remove limescale. Rinse with water.
Polish the outside with a damp cloth.
📚 INTERESTING FACT
While cooking, keep your workspace organized by wiping surfaces during cooking breaks. Soak pots with stuck-on food right after use.
What are the best ways to clean the garbage disposal and sink?
Cleaning the garbage disposal
Step 1: turn off the disposal
Turn off the garbage disposal or unplug it (if possible)
Step 2: remove debris
Use tongs or pliers to remove stuck food and debris inside the disposal.
Lift and scrub the rubber splash guard with a sponge and dish soap.
Step 3: deodorize
Vinegar and baking soda
Pour 1/2 cup of baking soda into the disposal.
Add 1/2 cup of white vinegar.
Let the mixture fizz for 5-10 minutes. Rinse with hot water afterwards.
Citrus freshness
Toss several ice cubes and small citrus peels into the disposal.
Remove lingering odours and grease by running the disposal with cold water.
Step 4: deep clean with ice and salt
Place several ice cubes and 2 tablespoons of coarse salt into the disposal.
Run the disposal with cold water. The abrasive action will eliminate stubborn residue from the blades.
Cleaning the sink
Step 1: wash the surface
Use warm water and dish soap to scrub grease and grime from the basin, faucet, and drain cover.
Apply a paste of baking soda and water to stained areas. Gently scrub and rinse with plenty of water.
Step 2: sanitize the sink
Spray white vinegar over the surface of the oven. Let it sit for 5 minutes to disinfect and use a damp cloth to wipe down.
Kill bacteria and flush out residue by pouring a pot of boiling water down the drain.
Step3: deodorize the drain
Baking soda and vinegar
Pour 1/2 cup of baking soda into the drain and follow by 1/2 cup of vinegar.
Wait for 15 minutes and flush with hot water afterwards.
Salt and lemon for stainless sinks
Sprinkle salt on the sink surface, and scrub with a cut lemon. For a shiny finish and a fresh scent, rinse it with warm water.
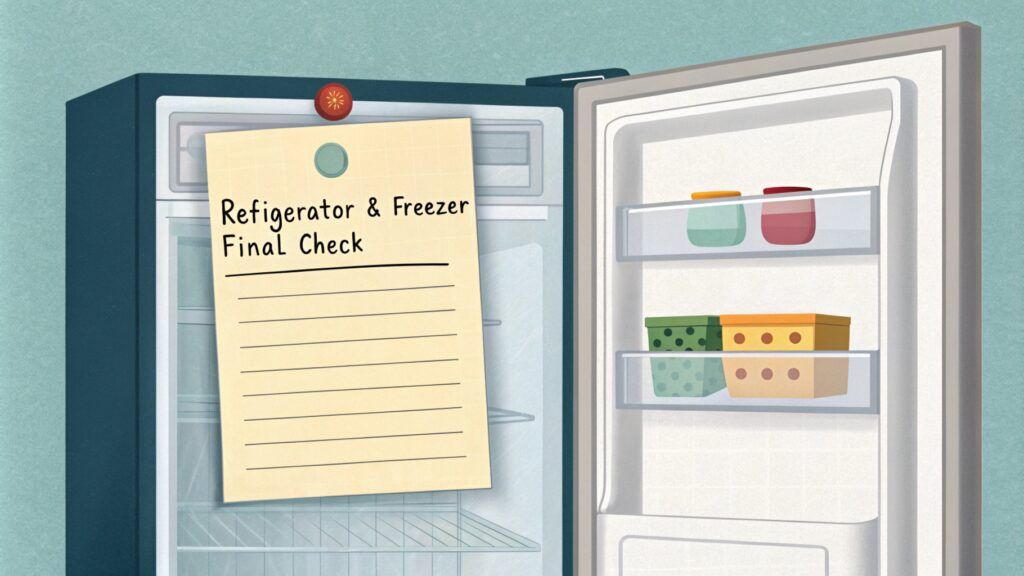
What final checks should you make?
Kitchen Appliances
Refrigerator and freezer
Remove all food if you turn off the appliances
Assidously wipe and dry the interior
Leave the door slightly open to avoid mould and odours.
Oven and stovetop
Check if all surfaces, burners, and racks are clean, without any crumbs or grease.
Turn off the appliances
Microwave
Polish the interior and exterior
Leave the door slightly open
Dishwasher
Empty and sanitize the filter
Leave the door ajar
Garbage disposal and sink
Verify if the disposal is clear of debris
Rinse the sink to make sure that there is no standing water.
Small appliances
Unplug the small appliances
Store them in a safe, dry place.
🎯 KEY POINT
After cooking, wipe down all surfaces, empty garbage cans, and see that all dishes are washed and unloaded.
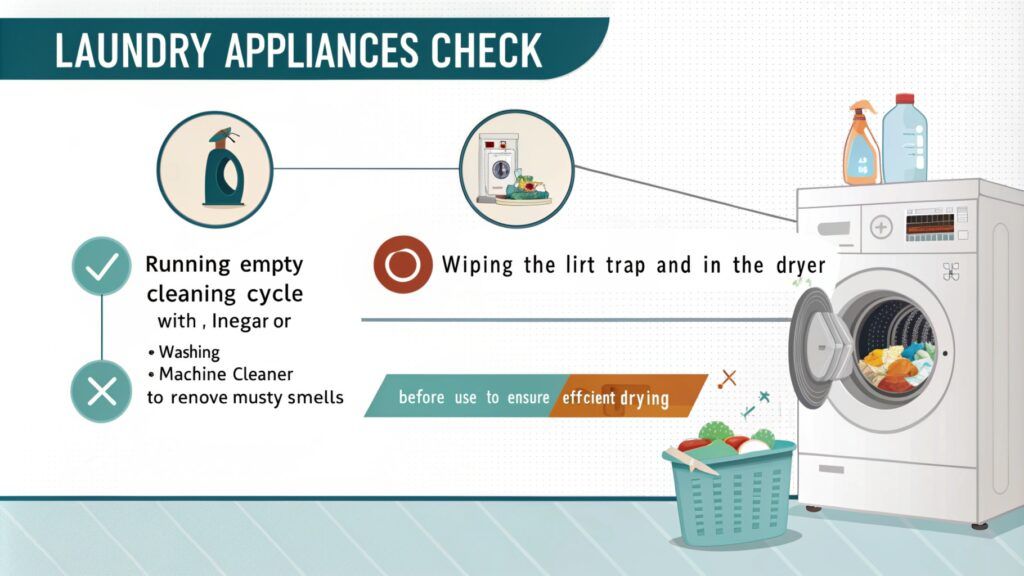
Laundry appliances
Washing machine
Run an empty cycle with vinegar or a cleaning agent
Wipe the drum and leave the door open.
Dryer
Empty the lint trap
Wipe down the drum and see if there are any items left inside.
How to avoid odours while you're away?
Kitchen Tips
Refrigerator and freezer
Take out all perishable products and discard anything close to expiration.
Leave the doors slightly open to avoid mould and mildew (if turned off)
Place an open box of baking soda or activated charcoal inside the refrigerator.
Garbage disposal and sink
Pour baking soda and vinegar down the drain followed by hot water.
Wipe the sink dry to avoid water pooling—it can cause odours.
Trash bins
Take out the garbage
Wash and dry the bins and sprinkle baking soda at the bottom to avoid odour.
What maintenance tasks to schedule for when you come back?
Refrigerator and freezer
Verify if there are any lingering smells
Tidy shelves and compartments before refilling with fresh groceries.
Oven and stovetop
Wipe down surfaces to remove dust or stale odours.
Test the burners, heating elements, and fans.
Dishwasher
Run an empty cleaning cycle with a dishwasher cleaner or vinegar to eliminate residue from standing water.
Garbage disposal and sink
Run the disposal with ice cubes and lemon peels to refresh the system.
Laundry appliances
Run an empty cleaning cycle with vinegar or a washing machine cleaner to eliminate musty smells
Inspect the dryer and wipe the lint trap and drum before use.
Don’t forget to open windows and let fresh air circulate throughout the house. If any of your kitchen appliances need servicing or deep cleaning, schedule professional services.
Reading Tenancy Cleaners Tel: 01483 616255 Your local move-in/out, deep and one-off cleaning professionals.Professional domestic deep cleaners expertise, the best experience, and affordable prices.