End-of-tenancy cleaning impacts deposit returns, and landlords can deduct from them if the property isn’t spotless. A seamless handover prevents disputes and increases the chances of a full deposit return. Hire professionals for end-of-tenancy cleaning, especially if it’s required by your lease agreement. You will save time and make sure you pass the final inspection by your landlord.
Importance of end-of-tenancy cleaning
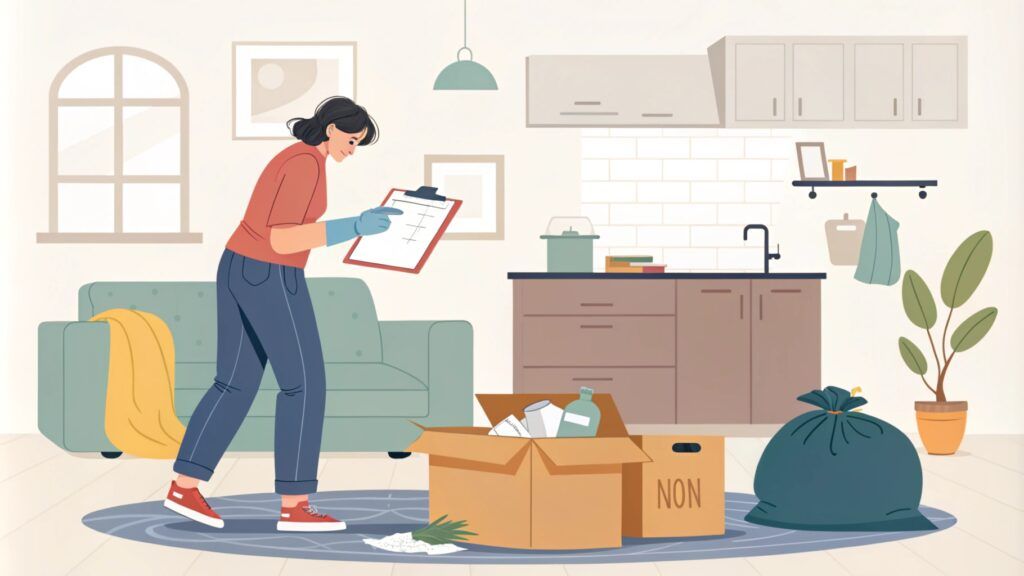
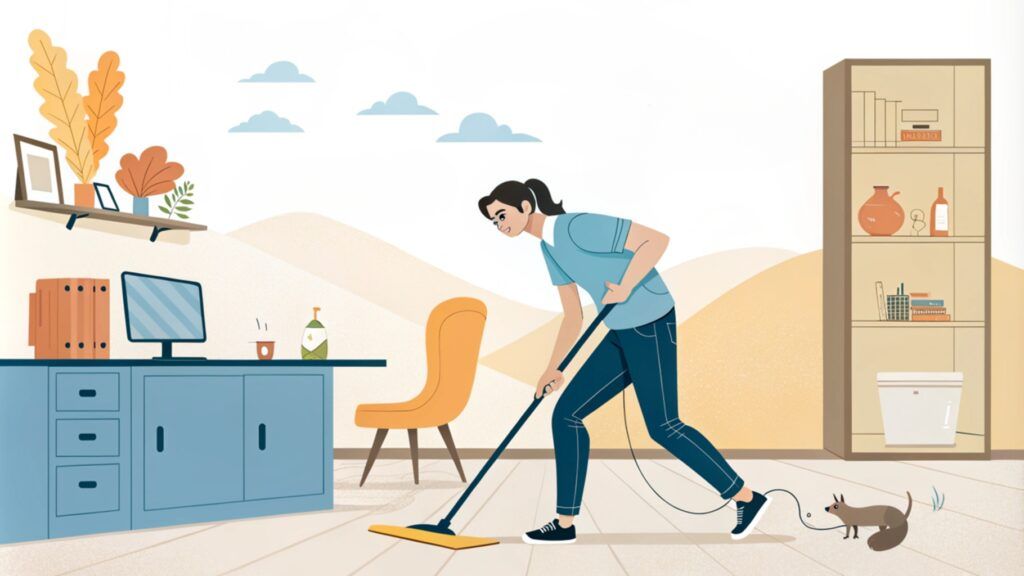
Preparation is crucial
Focus on specific areas
Commonly missed areas
Final touch-ups
Preparing mentally and physically will ease the cleaning process. Here are the key aspects to manage:
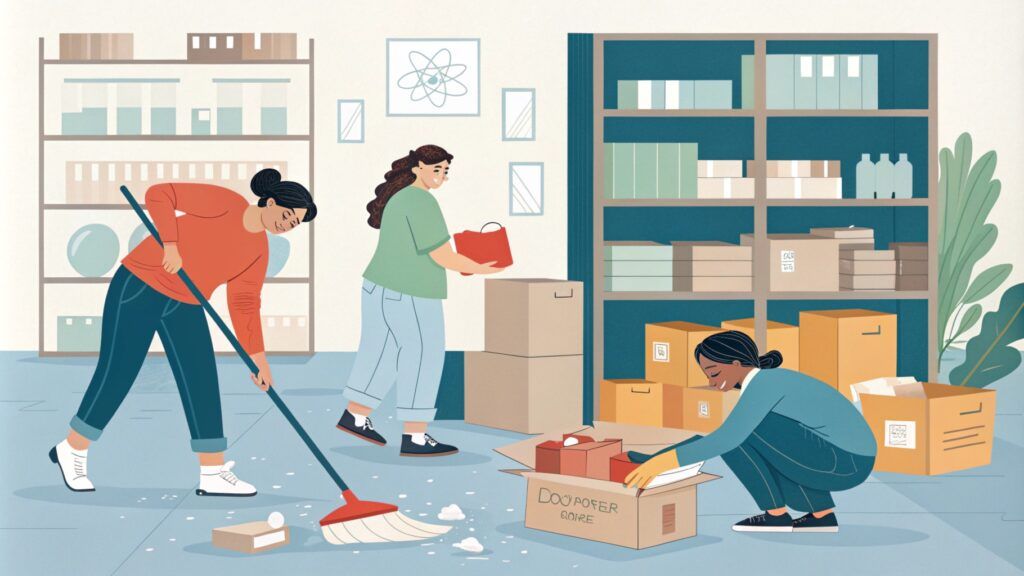
Before you clean, remove all unnecessary items. Decluttering eases the cleaning process and helps you maintain a tidy space.
Gather your cleaning supplies
Here's what you should have for cleaning:
Make a cleaning schedule
We recommend you start with rooms that are less frequently used (bedrooms, for example) and finish with high-traffic areas like the kitchen and bathrooms.
Create a comprehensive checklist so that you don’t miss any area during the cleaning process. It should cover all rooms, including entry points, living areas, kitchens, bathrooms, and outdoor spaces.
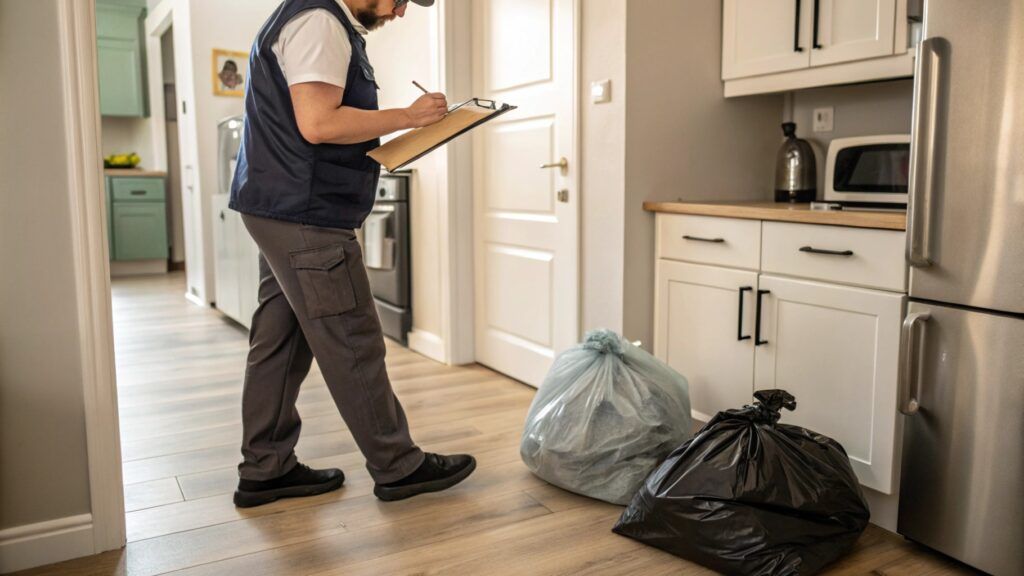
Document the property’s current state
Efficiently manage your time

Ovens and hobs can collect a lot of grease and grime, but using adequate techniques can make them sparkle clean.
Oven cleaning
You can use baking soda and vinegar or off-the-shelf oven cleaners.
Hob/Stovetop cleaning
Gas hobs can be cleaned with warm, soapy water, while glass or electric hobs require a mixture of water and vinegar.
Descale kitchen appliances
Limescale buildup is common in appliances, especially when you have hard water. You need to descale the kettle, coffee maker, dishwasher, and washing machine. You may have to repeat the process to remove all buildup.
Clean cabinets and drawers
Cabinets and drawers often collect dust, crumbs, and residues from food or oils, especially if you do a lot of cooking. After you empty and dust each cabinet, you need to degrease the interiors and exteriors, remove stains, and line drawers, if necessary.
Deep clean the refrigerator
Prone to spills and odours, the refrigerator needs a deep clean to look like new and smell fresh.
Make sure kitchen appliances are cleaned inside and out. You have to remove food residue and disinfect surfaces.
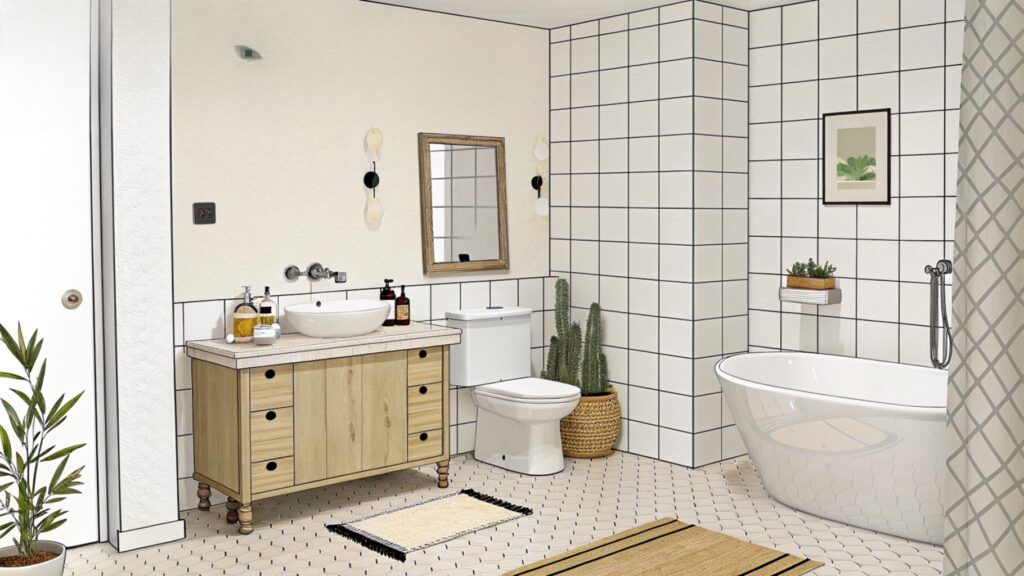
To achieve a spotless bathroom, you have to manage common issues like limescale, grout, shower areas, and fixtures.
Stubborn limescale
Use white vinegar to remove limescale from faucets, showerheads, and glass surfaces, and a vinegar-water solution for glass shower doors.
Grout and tiles
To remove grime and stains from grout, you can use a paste made of baking soda and water.
Shower and bath areas
Sprinkle baking soda on the tub or shower floor and spray vinegar to remove soap scum and buildup. Use a magic eraser for tough spots.
Sparkling fixtures
Use a microfiber cloth and a vinegar-water solution to make faucets, shower handles, and towel racks shine.

Remove wall marks
Use a magic eraser or melamine sponge to remove scuff marks, fingerprints, and minor stains from walls.
Have streak-free windows
Don’t forget about windows. Use a solution of vinegar and water (equal parts) and a microfiber cloth for a streak-free finish.
Remove dust
Use a microfiber cloth or an electrostatic duster to dust the furniture, baseboards, blinds, ceiling fans, and all other surfaces that collect dust.
Safely clean light fixtures
Turn off the fixtures and allow the bulbs to cool. Use a microfiber cloth to wipe down light fixtures, fans, and lamps.
Remove carpet stains
Carpets are prone to stains and can develop odours. You need to select the cleaning method based on the stain type and type of the carpet.
Address spills and stains immediately when they occur to avoid setting.
Restore wood floors
With wood floors losing their shine over time, so it’s important to choose adequate techniques to bring back their original appearance.
Manage tile and grout
Even though tile floors are durable, they can collect grime, especially in the grout line. Various cleaning solutions and methods are used to tackle grout and tile.
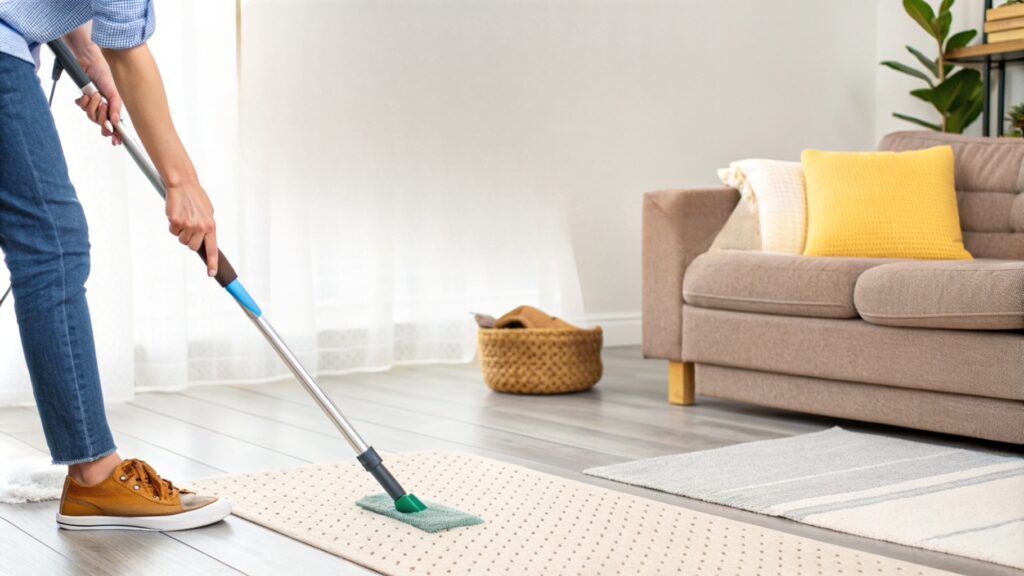
Clean high-traffic areas
High-traffic areas show wear and may appear dirty even with regular cleaning. Based on the floor type, you need to vacuum or sweep the floors.
Clean the hidden spots
Some areas in the house are easy to skip but may affect the final inspection by your landlord. Some of these commonly missed areas are:
Dust, debris, and dirt can collect behind sofas, chairs, and other large furniture.
The space behind ovens, refrigerators, and washing machines collects a lot of dust, crumbs, and grease. If possible, move these items to give them a deep clean.
Fingerprints, grease, and dirt accumulate in these areas, so run a quick wipe-down to see the differences.
The high-touch areas can collect dust and grime over time and need proper cleaning.
Clean difficult-to-reach areas
Dust and grime deposit in difficult-to-reach areas and are tricky to clean. Here are some tips:
Use a step ladder and a microfiber cloth to wipe every blade. Alternatively, wipe each blade with a pillowcase sprayed with some cleaner.
Use a vacuum with a long hose attachment or a flat mop with a microfiber pad to clean beneath large furniture.
Clean the window tracks with a small brush or a vacuum hose with a narrow attachment.
Manage the details
Landlords and letting agents will scrutiny specific areas, such as:
Areas that might jeopardize your deposit return
Some neglected areas will directly impact your deposit return:
Prioritize cleaning spaces that are used a lot, such as kitchens and bathrooms—they quickly collect dirt.
Clean cupboard interiors
Empty the entire cupboard and use a vacuum with a soft brush attachment to collect dust and crumbs. With a mild dish soap solution or all-purpose cleaner, wipe down the interior. For grease and sticky spots, make a paste out of baking soda and water. Clean also the cupboard doors, handles, and edges. Once dry, neatly organize the cupboard.
Tackle drawers
Dust, debris, and even sticky substances from makeup or food containers can deposit inside drawers. Empty the drawer and vacuum its bottom. Use a damp cloth and a mild cleaner to wipe its interior. For the sticky spots, use a mixture of vinegar and water.
Don’t soak wooden drawers and clean them gently. Once dry, neatly replace the items and add some drawer lines for a fresh, clean look.
Clean built-in wardrobes
Empty the wardrobe of all the clothing and items. Vacuum the dust or debris and use a damp cloth and a gentle cleaner to wipe down the shelves. Pay extra attention to the corners and bottom edges of shelves. Wipe down the mirrors and glass panels and remove marks from hanging rods too.
Clean under-sink areas
Areas under the sink can be damp and may collect stains, mildew, and leaks. Clear out all items and check for leaks or signs of water damage. Once empty, use an all-purpose cleaner to wipe down the surfaces. Use a mould and mildew cleaner if necessary and a descaler or mild abrasive cleaner to remove rust and hard water stains. Wipe the bottles and cleaning supplies and put them back in place after you clean the area.
Eliminate lingering odours
Lingering odours can be a major problem, especially in kitchens and bathrooms. To get rid of them, clean every surface—odours often come from hidden bacteria or dirt. After you clean, place bowls of baking soda (activated charcoal will do too) in rooms to absorb unpleasant smells.
Sprinkle baking soda on curtains and carpets, let it sit for several hours, and vacuum it to neutralize odours.
Create a professional finish
For a professional finish, manage the details, such as: polishing all metal fixtures, using a glass cleaner for windows and mirrors, cleaning light fixtures, and organizing any remaining clutter. Vacuum carpets, mop the floors, make the beds, and leave floors, tiles, and counters shiny and bright.
Essential final checks
Conduct one last inspection to make sure you didn’t miss anything. Check every room, including bathrooms, kitchen, and bedrooms, and examine once more light switches, door handles, and under furniture. Inspect the appliances and don’t leave any cleaning products outside. Remove the rubbish and see if the windows are secured and locked.
Document the completed work
After you finish, take high-quality photos of each room, focusing on cleaned areas, appliances, and fixtures. Ideally, you should take before and after photos. You may also leave a list of repairs made or a cleaning receipt if you hire professionals.
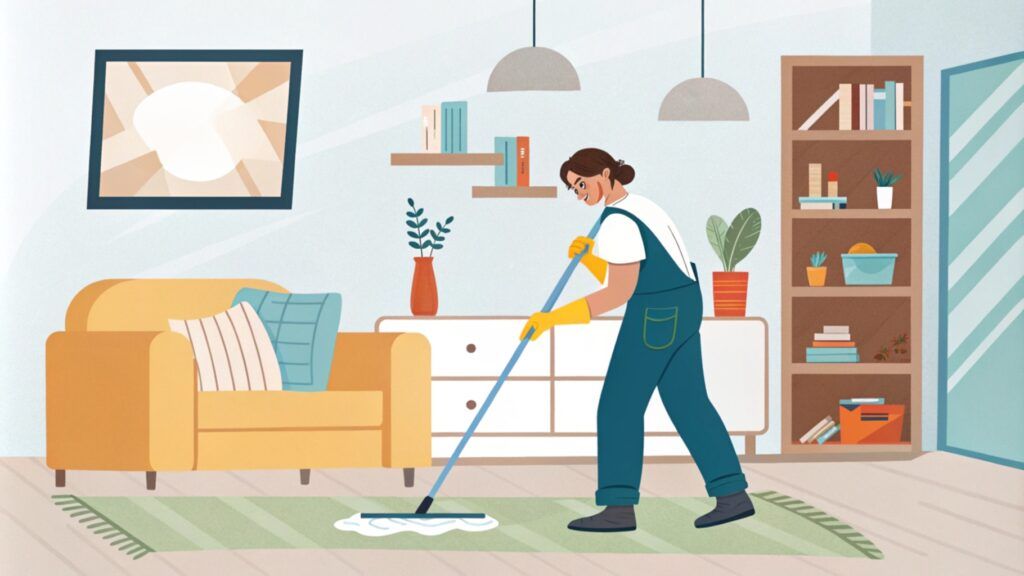
Turn to time-saving cleaning techniques
Professionals know how to clean quickly while remaining efficient. One of the best time-saving tips is to work in stages: start by decluttering and organizing each room before cleaning. Another tip is to manage high-priority areas first, such as kitchens and bathrooms.
Use tools that speed up the cleaning, such as microfiber mops or cordless vacuums. Always clean from top to bottom.
Use efficient natural cleaning solutions
Many professionals use natural solutions that are both affordable and efficient. A mixture of white vinegar and water is an excellent all-purpose cleaner, and so is baking soda. For difficult stains, you may use hydrogen peroxide, especially when combined with baking soda.
Work efficiently
Having the proper tools and being strategic is key to efficient cleaning. Use high-quality microfiber cloths, a high-powered vacuum, and a caddy to carry your cleaning supplies, and stick to a routine. Clean room-by-room and use a "clean as you go" method—wiping down surfaces and tidying up as you work, and don’t let the mess build.
Employ the right cleaning methods
Focus on multi-purpose solutions that work for various cleaning needs. For example, a steam cleaner is useful for floors, upholstery, windows, and even kitchen appliances. Regular maintenance is also paramount to avoid heavy buildup. Also, you should choose reusable cleaning products such as washable mop pads and cloths.
Use the "One in, one out " rule to combat clutter. For every new item you bring inside, remove an old one. This way, you maintain a balanced living space.
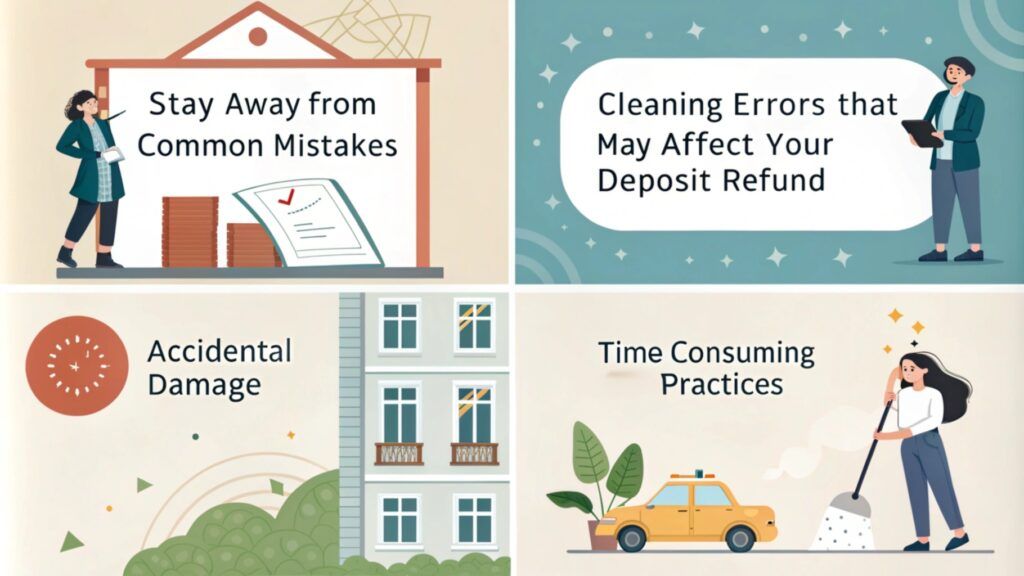
Cleaning errors that may affect your deposit refund
Many mistakes may impact your deposit refund, such as not cleaning high-traffic areas like kitchens and bathrooms thoroughly enough. Missing the carpet stains or skipping the kitchen appliances can also cause deductions from your deposit.
Accidental damage
Accidental damage during cleaning is quite common and can lead to expensive repairs and even replacements. Be cautious when moving cumbersome furniture, don’t use abrasive pads, and use soft cloths and microfiber mops.
Product combos to avoid
Some cleaning product combinations can be harmful, so make sure you gather information first.
Time-consuming practices
Time management is crucial, and some practices will slow you down—cleaning too early or too late in the process is one example.
Make a final checklist
The final checklist is the best tool to make sure you don’t miss any cleaning tasks.
Organize cleaning documentation
If you hire professionals, document everything, gather receipts, and take before-and-after photos.
Remember the areas inspectors carefully examine
Kitchen and bathrooms, walls and windows, floors and carpets, fixtures and fittings are often thoroughly examined by landlords.
Ensure a smooth handover
Be well-prepared for the final inspection and be courteous during the handover process—this can go a long way in ensuring a full deposit refund!
RESOURCES
https://hubbardsmaidservice.com/tips-for-keeping-your-home-spotless-between-professional-cleanings/
https://www.simplyspotless.com.au/expert-cleaning-tips/
https://ecocleansolutions.ie/ensuring-a-spotless-handover-end-of-tenancy-cleaning-essentials/
Reading Tenancy Cleaners
Tel: 01483 616255
Your local move-in/out, deep and one-off cleaning professionals. Professional domestic deep cleaners expertise, the best experience, and affordable prices.