Why is end-of-tenancy cleaning essential in recovering your deposit?
End-of-tenancy cleaning is important to getting your deposit back in full. It's common for landlords to deduct from the deposit if the rental isn’t up to their standards. Most deposit-related disputes are caused by poor condition of the rental. Hiring professional cleaners boosts your chances of getting your whole deposit back. With the right approach, DIY cleaning can also be successful. Use our guide to deeply clean each area of your rental and avoid deductions from your deposit before moving out.
Scrub toilets, sinks, showers, and tiles and remove soap scum and limescale with proper cleaners
Living areas
Dust all surfaces, efficiently clean carpets, and leave windows and light fixtures immaculate.
Bedrooms
Clear our wardrobes and under-bed areas and clean all surfaces.
Leave the windows and mirrors polished and streak-free.
Commonly missed spots
Don’t skip light fixtures, window tracks, areas behind appliances, and ventilation systems.
Outdoor spaces
Clean patios and gardens, trim plants, sweep debris, and clean external windows.
Final inspection checklist
Based on the initial checklist, run a systematic room-by-room examination
Document the condition of the rental with before-and-after photos
Hiring professional cleaners
Hire professionals if your rental is big or you don’t have the time to clean it.
Protecting your deposit
Understand your tenant rights about deposit refunds
Document the rental condition
Negotiate with your landlord over possible deductions
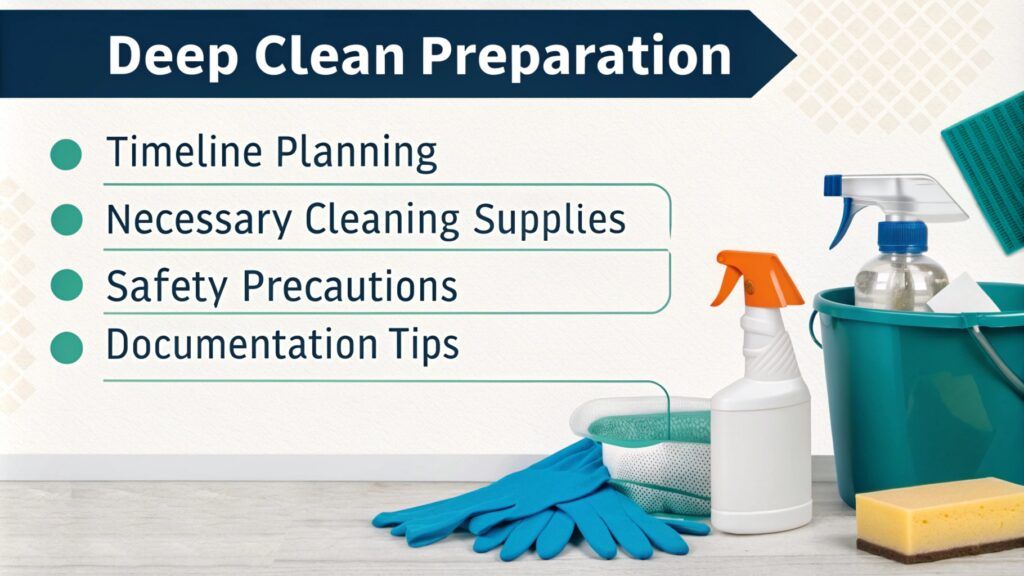
What do you need before you start the deep clean?
Good preparation can save you time, and energy, and increase your efficiency. Here's how to prepare your deep clean:
Timeline planning essentials
Set aside enough time
Your rental's size and condition are primary factors when scheduling—it might take you a full day or several days to deep clean it.
Break it down by areas
Plan to have a room-by-room approach, so it's more manageable and you don’t get overwhelmed.
Allow some time for final fixes
After you complete the main tasks, you may set aside a couple of hours to assess each area, look for skipped spots, and make final fixes.
Necessary cleaning supplies
Essential cleaners
All-purpose cleaner
Disinfectants
Bathroom cleaner
Degreasers for kitchen surfaces
Specialized products: glass cleaner, oven cleaner, and limescale remover
Stain removers for carpets or a spot cleaner for targeted areas
Additional supplies
Microfiber cloths
Sponges
Duster
Paper towels
Trash bags
Disposable wipes
Cleaning equipment
A vacuum cleaner with attachments for furniture, crevices, and baseboards
Mop and bucket for hard floors
Hard-bristled brushes to remove grime in the kitchen and bathrooms. Have small brushes for tiny corners and hard-to-reach areas.
A steam cleaner for difficult stains or accumulated dirt—you can rent one from a hardware store.
A word on safety
Wear protective gear, such as rubber gloves, masks, and goggles.
Ensure efficient ventilation when using strong chemicals
Follow the manufacturer's guidelines and don’t mix chemicals (like bleach and ammonia) as it may generate dangerous fumes.
Collect documentation
Take before and after photos to document your rental's condition
Document any pre-existing damage to avoid being held accountable for it
If applicable, use the inventory checklist that your landlord provided at the beginning of the lease. Follow it to make sure you meet all their requirements and avoid deductions.
📚 QUICK FACT
For general cleaning, you should:
Remove your assets
Dust shelves, light fixtures, and all surfaces
carefully vacuum carpets and mop hard floors
Clean windows, window sills, and frames.
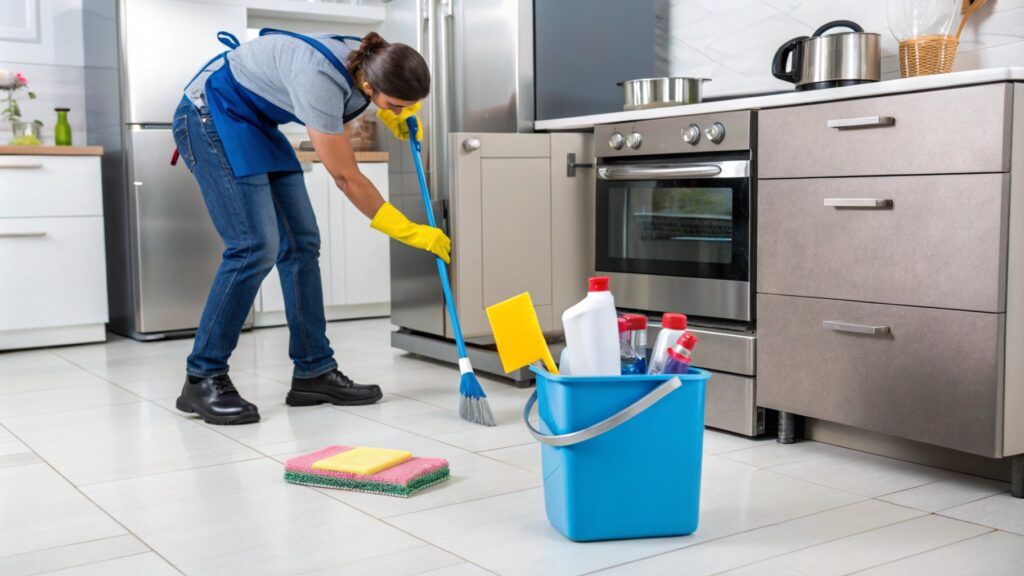
Cleaning the kitchen like a pro—how should you do it?
If you want to pass your final inspection by your landlord, it's mandatory that you assiduously clean your kitchen. Follow our tips for an immaculate kitchen:
Appliances (oven, fridge, and microwave)
Oven
Remove oven racks and soak them in hot, soapy water
Scrub away baked-on grease and residue from inside the oven with an oven cleaner or a mixture made of vinegar and baking soda.
Wipe down the glass door and clean its knobs and handles.
Fridge
Clear out everything from the fridge
Remove shelves and drawers, wash them with warm, soapy water, and air-dry them before putting them back in place.
Wipe down the interior walls with a mild cleaner.
Leave the fridge door open for a little while to air out.
Microwave
Place a bowl of water with a few lemon slices inside. Microwave it on high for a couple of minutes.
Wipe clean the steamed grime.
Clean the turntable and the inside door panel.
Surfaces and countertops
With the appropriate surface cleaner, wipe down all countertops and pay attention to areas near the stove, where grease tends to accumulate.
With a gentle scrub, remove difficult stains while being careful not to scratch the surfaces.
Clean under small appliances like toasters, kettles, and coffee makers.
Cabinets and drawers
Empty all cabinets and drawers and discard all unwanted and expired items.
Use a damp cloth and mild cleaner to wipe the interiors, focusing on sticky spots and food residues. Dry with a clean cloth.
For exterior surfaces, use the appropriate cleaner to remove dust, fingerprints, and grease, especially near edges and handles.
Sink and taps
Use a scrubbing brush and a limescale remover (or the baking soda-vinegar combo) to remove mineral buildup around the taps.
Scrub away stains and marks from the sink with a non-abrasive cleaner. Grind some ice cubes and lemon slices to freshen up the garbage disposal (if applicable).
Floor and tiles
Sweep and vacuum the kitchen floor to eliminate all crumbs and dust. Get a suitable floor cleaner to mop the floor and spend more time on high-traffic areas.
For tiled floors, use a brush and cleaner to scrub the grout and remove discolouration. Use a damp cloth to wipe down the tiles and eliminate all residue.
Windows and sills
Get a glass cleaner or a vinegar solution to wash the windows inside and outside (if possible) until they are streak-free. Remove dust, dirt, and water stains from window sills and frames.
If necessary, clean the window tracks.
⚡ WORTH NOTING
Clean the oven, microwave, refrigerator, and dishwasher inside and out.
empty and clean inside and outside the cabinets and drawers
disinfect countertops and all surfaces
remove stains and limescale from the sink and faucet
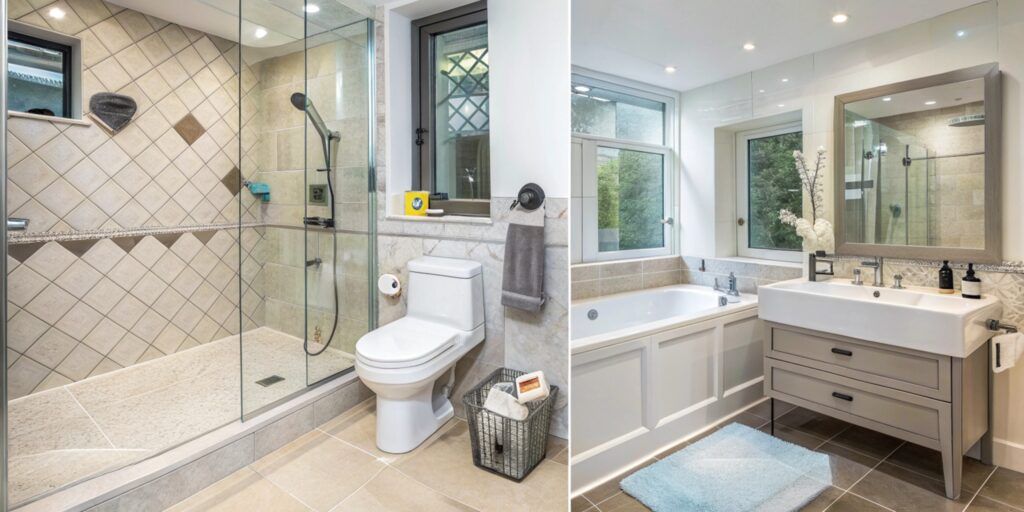
How to deeply clean the bathroom?
An impeccable bathroom is crucial to ensure full deposit refund. Here's how to deeply clean your bathroom:
Toilet and cistern
Use a toilet cleaner to scrub the toilet bowl and pay attention to hard water stains or buildup under the rim.
Clean the exterior, including the cistern, flush handle, and seat.
To make sure the whole toilet is cleaned and sanitized, use a disinfectant.
Shower/bath areas
Remove the limescale from the showerhead and all buildup from the glass door and curtain. Use vinegar or a descaling solution to remove hard water stains from tiles and fixtures.
With a non-abrasive cleaner, efficiently scrub the interior of the bathtub to remove soap scum and grime.
Clean and polish all fixtures and see if the sealant around the edges has mildew that requires treatment.
Tiles and grout
Scrub grout lines with a mixture of baking soda and water or a grout cleaner. Wipe down the tiles and remove all soap scum and residue.
Sink and taps
Use a suitable cleaner to scrub difficult stains from the sink basin and around the drain.
Polish the taps with a limescale remover or vinegar solution.
Clean the countertop and remove water spots and residual product stains.
Mirrors and glass
Wipe down mirrors and shower doors with a glass cleaner, removing fingerprints and streaks.
Polish until all mirrors are streak-free.
Ventilation systems
Dust and clean the bathroom ventilation fan—you can use a brush or quickly vacuum it.
✨ DID YOU KNOW?
Clean inside the bowl and wipe its exterior
Remove soap scum and mildew from tiles, grout, and fixtures
Assiduously clean the sink and countertops
Use a glass cleaner to leave mirrors streak-free
What should you do to efficiently deep-clean the living areas?
A deep clean in living areas is key to making the space look refreshed and inspection-ready. Here’s how to efficiently manage every element of the room:
Walls and skirting boards
Use a damp cloth to dust and wipe down skirting boards.
Check the walls for scuff marks or stains and use a mild detergent and a non-abrasive sponge, if necessary.
Spend extra time near light switches and door frames.
Windows and tracks
Use a glass cleaner or a vinegar solution to clean the inside of windows
To remove dust and debris from the tracks, use a small brush or vacuum attachment. For a spotless look, use a damp cloth.
Light fixtures and switches
Carefully dust all light fixtures, lampshades and bulbs.
Use a disinfectant wipe or cloth to wipe down light switches.
Door handles and frames
Disinfect door handles and wipe away dirt and fingerprints.
Use a damp cloth to clean door frames and edges.
Carpets and floors
Deeply vacuum the carpets and use a carpet cleaner or a stain remover to remove stains.
Wipe down the edges of the power sockets with a dry cloth. Don’t use a wet cloth or cleaning solution right on the sockets—you must avoid any electrical hazards!
📌 KEY POINT
Dust all furniture surfaces and vacuum upholstery
Dust off light bulbs and lampshades
Remove marks and stains from walls
What needs attention in the bedrooms?
To pass the end-of-tenancy inspection, every bedroom has to be immaculate. Here’s a breakdown of what to focus on:
Wardrobe and storage spaces
Clear out all things from wardrobes and drawers and discard forgotten items.
Use a damp cloth to wipe down interiors and remove dust and grime. Pay attention to corners and shelves.
For a nice, polished appearance, clean the exterior surfaces, including handles.
Under bed areas
Move or lift the bed (if possible) to vacuum and dust the area underneath
If the bed had drawers, empty them and wipe them down for an immaculate appearance.
Window dressings
Dust or vacuum curtains, blinds, or drapes to remove buildup
Wash curtains or use a damp cloth to remove grime from blinds
Clean and polish window sills so that they don’t have any more dust and smudges.
Mirrors and glass
Use a glass cleaner to remove fingerprints and streaks from mirrors.
Clean all glass surfaces (for instance, a dressing table) so they are clear and bright—they improve the room's cleanliness.
Flooring and carpets
Thoroughly vacuum carpets, focusing along the edges and under furniture.
Use a carpet cleaner or a stain remover to eliminate stains.
Sweep and mop the hardwood or laminate floors. Deep-cleaned floors matter for a room's overall cleanliness.
💡 INTERESTING FACT
Empty and wipe down shelves and remove marks from wardrobes and closets
Clean windows, window sills and tracks
Vacuum carpets and mop hard floors.
Some areas are typically missed—which are they?
It’s quite common for people to miss some spots, which can cause deductions from the deposit. The areas that many tenants forget to clean are:
Light fixtures and bulbs
Dust and wipe down lampshades, light fixtures, and bulbs that tend to collect dust and cobwebs. Cleaning them helps you pass the final inspection.
Wall marks and scuffs
Check walls for scuff marks and stains, especially in high-traffic areas, near switches, and corners.
Use a magic eraser or a mild cleaner to remove the marks—it will give the room a well-kept appearance.
Under and behind appliances
Move appliances (fridges, ovens, and washing machines) to clean underneath and behind them.
Radiator cleaning
Dust and dirt collect especially in the spaces between sections.
Use a brush or vacuum attachment to clean in between and around radiators
Remove dust and marks by wiping down the exterior
Extractor fans
Wipe the exterior of the extractor fans with a damp cloth. If possible, use a vacuum or a brush to carefully clean the interior and eliminate deposited dust.
Window tracks
Use a small brush or cloth to remove grime, dirt, dust, and mould from the window tracks.
How should you clean outdoor spaces?
Don’t forget about outdoor areas, as they are crucial for a complete property clean. Here's what you should do outside:
Patio and decking
Sweep and clear debris, leaves, and dirt from patios and decking
Hose down or pressure wash surfaces to remove moss, stains, and algae
Check for weeds growing between paving stones and remove them.
Garden maintenance requirements
Trim overgrown plants, hedges, or grass.
Remove dead leaves, weeds, and debris from flowerbeds so that the garden looks nice.
Use gardening tools to complete gardening tasks.
External window cleaning
Remove dust, smudges, and water spots from ground-level windows
For a streak-free finish, use a glass cleaner and a squeegee
Use a long-handled cleaner for higher windows or hire a professional if the landlord has required you to do so.
Bin storage areas
Wash out and disinfect bins to remove doors and deposited grime
Clear away rubbish in the storage area
Neatly organize bins to avoid complaints from your landlord.
What does your inspection checklist look like?
The final inspection is essential for securing your deposit refund and you should use a detailed checklist to cover everything your landlord will examine:
Room-by-room examination
Systematically examine each room, using the initial checklist as a guide.
Check for remaining dust and stains on appliances, fixtures, windows, floors, and storage spaces.
Remove any forgotten items.
Common landlord complaints
Landlords typically spot lingering grime in the bathroom, dust behind appliances, stained carpets, and scuffed walls.
You can avoid complaints by managing minor repairs like filling small nail holes or tightening loose handles.
Inspection preparation tips
Air out each room for freshness
Turn off all lights
Neatly arrange blinds and curtains
Replace burned-out light bulbs
Remove trash
See that all appliances are in good working order
Required Documentation
Take “after” photos of each room to document its condition
If you use a move-in inventory or checklist, review it to make sure you have checked out everything. It can be valuable evidence in case of deposit-related disputes.
When it’s best that you hire professional cleaners?
Consider the following aspects before deciding for hiring professional cleaners or not:
Cost-benefit analysis
Hiring professionals may seem expensive at first, but it saves you time, energy, and money. If the property is big or you can’t handle the tasks on your own, you should hire professionals. Compare the price for professional services with possible deposit deductions due to poor cleaning or missed areas.
Find dependable professionals
Look for a company with good reviews that is well-respected in your area. Ask friends and family for recommendations and choose a team specialized in end-of-tenancy cleaning, as they are familiar with landlords’ cleanliness standards.
Service expectations
Make sure you clarify with the professionals about what you expect from the professional service. Present your needs and ensure the company uses a detailed checklist for the professionals. See if they cover all areas, such as carpets, appliances, and deep cleaning tasks—often required by landlords.
Insurance aspects
Choose a company that is insured, as it can protect you in case of accidental damage to the property while they clean. The company should have liability insurance, especially if you have valuable or fragile items on your property.
Is there anything you can do to protect your deposit?
The main steps to protect your deposit during an end-of-tenancy process are:
Understand your tenants’ rights
Learn about your tenant rights, including the right to get your deposit back in full if you return the property in pristine condition. Examine the tenancy agreement for clauses related to cleaning or repairs—it can help you avoid unfair deductions.
Dispute resolution processes
Unfair deductions can be challenged through dispute resolution processes. Many deposit protection schemes offer free mediation services.
Evidence collection methods
Document the rental's condition before and after you move out. Keep receipts of repairs or specific cleaning tasks.
Negotiation strategies
If the landlord suggests deductions, remain calm and professional. Use your evidence (photos, videos, and receipts) to back up your claims. Remind your landlord of their obligations under tenant law and try to resolve the issue amicably.
ℹ️ SPOTLIGHT
Document the rental condition.
Schedule a walkthrough with your landlord to talk about any problems.
How to be successful with your end-of-tenancy cleaning?
Having the right approach and tools is essential, as are some useful tips like:
Time management tips
Break your tasks into manageable portions and tackle them in a logical order.
Set a timer for each room
Allow more time for high-traffic or high-priority areas
Create a checklist and stick to it
Cleaning order optimization
Declutter every room before cleaning
Always clean from top to bottom
Stubborn stain solutions
Use specialized stain removers or natural solutions to remove difficult stains from carpets, upholstery, and various surfaces.
Use natural cleaning alternatives.
Use white vinegar, baking soda, lemon juice, and essential oils to safely clean surfaces.
Equipment shortcuts
Use multi-purpose tools like microfiber cloths—they collect dust and dirt better than traditional cloths.
Get a good-quality vacuum with several attachments to efficiently clean in tight corners, on upholstery, and along baseboards.
Use a mop with a washable pad and avoid using disposable wipes.
🎯 QUICK FACT
Make sure you check off all items in the inventory
Don’t leave any personal belongings behind
Remove all rubbish from the property
RESOURCES
The Happy House Cleaning This resource offers a detailed end-of-tenancy cleaning checklist, including timing, organization tips, and room-by-room cleaning tasks. It emphasizes the importance of gathering cleaning supplies and documenting the cleaning process with photos. Read more here.
Total Landlord Insurance This site provides a downloadable end-of-tenancy cleaning checklist designed for both landlords and tenants. It highlights the importance of referencing the initial inventory and includes practical cleaning tips to minimize disputes regarding cleanliness at the end of a tenancy. Check it out here.
Just Landlords This checklist is tailored for tenants, ensuring they cover all necessary areas to avoid losing their deposit. It includes specific tasks for different rooms, such as kitchens and bathrooms, and emphasizes the need for thorough cleaning of furnishings and appliances. Explore the checklist here.
Tidy Green Clean This ultimate guide provides extensive tips and tricks for end-of-tenancy cleaning, including advice on how to clean various areas of the home effectively. It suggests hiring professionals for particularly challenging tasks like oven cleaning. View the guide here.
Blue Sky Property This resource outlines an ultimate end-of-tenancy cleaning checklist that is beneficial for both tenants and landlords. It covers essential tasks in each room and emphasizes the importance of thoroughness to ensure compliance with rental agreements. Access the checklist here.
Reading Tenancy Cleaners Tel: 01483 616255 Your local move-in/out, deep and one-off cleaning professionals.Professional domestic deep cleaners expertise, the best experience, and affordable prices.